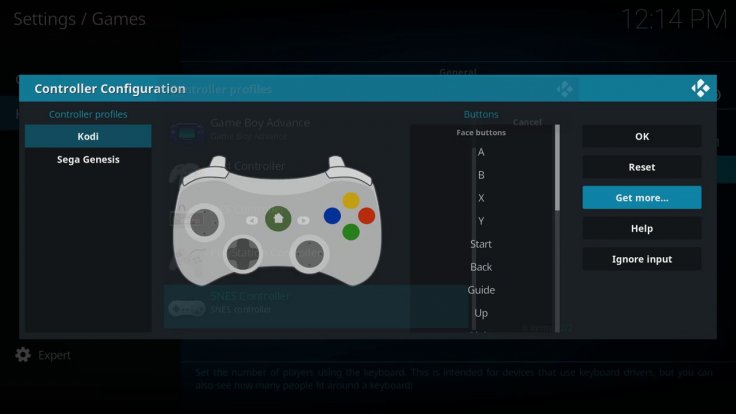
The initial release of Kodi 18 Leia on Windows in December 2017 revealed retro gaming as one of its newest features. From all Sega consoles to Atari, Game Boy and Nintendo, gamers will be able to play their favourite video games through Kodi with no external hardware to be plugged in.
Using Kodi's built-in emulators and a new add-on called the Internet Archive ROM Launcher, Kodi users will be able to download vintage video games without being charged. Older video games are DMCA exempt since they are no longer distributed or sold.
Also read: 4 best working Kodi add-ons in December 2017
According to TVAddons, Kodi 18 Leia gives players access to emulators for several gaming consoles such as Atari, Commodore 64, Game Boy Classic, Game Boy Color, MS-DOS, Nintendo 64, Sega Dreamcast, Sega Genesis, Sega Saturn and Super NES, among many others.
Before you'll be able to play retro games on Kodi, you can follow these steps below:
Step 1: Download and install the latest Kodi RetroPlayer Test Build for your desired platform from the links below.
- Windows x86
- Windows x64
- Mac OSX
- Android ARM
- Android ARM64
- LibreELEC (Raspberry Pi)
- LibreELEC (x86_64)
- Linux (Ubuntu 16.04)
- Linux (x86_64)
Note: Android TV and Amazon Fire TV users should input the following link within the downloader app Browser on Android TV or Amazon Fire TV: http://bit.ly/kodiretrotest.
Step 2: Navigate to the Settings cogwheel at the top left corner of your screen.
Step 3: Select the File manager icon and click on the Add source function.
Step 4: Click on the field that displays under the Enter the paths or browse for the media locations heading.
Step 5: Input http://fusion.tvaddons.co using the on-screen keyboard, then press the OK button.
Step 6: Click on the lower text input field under the Enter a name for this media source heading.
Step 7: Input fusionco (or fusion) using the on-screen keyboard, then press the OKbutton once again.
Step 8: Click on the OK button at the bottom of the window.
Step 9: Return to the Kodi home screen at this point.
Step 10: Click on the Add-ons tab from the vertical menu bar.
Step 11: Navigate to the little box icon at the top left corner of the Kodi Add-ons menu interface.
Step 12: Click on the Install from zip file function.
Step 13: Click on the Settings button if prompted that unknown sources are disabled.
Step 14: Click on the Unknown sources field.
Step 15: Click on the Yes button to confirm allowing the installation of Kodi addons from unknown sources.
Step 16: Return to the previous menu at this point.
Step 17: Click on the Install from zip file function once again.
Step 18: Select the fusionco (or fusion) server folder that you added earlier in this guide.
Step 19: Select the Kodi-repos folder.
Step 20: Select the English category.
Step 21: Scroll down to the repository.zachmorris-1.0.0.zip option.
Step 22: Click on the Install from repository button.
Step 23: Choose the Zach Morris Add-ons repository.
Step 24: Select the Game add-ons category.
Step 25: Choose the Game providers category.
Step 26: Click on the Internet Archive ROM Launcher addon.
Step 27: Click on the Install button to proceed.
Step 28: Click on the OK button to accept the installation of the required addon dependencies.
Step 29: Wait a minute for the Internet Archive ROM Launcher to download and install.
Step 30: Click on the Internet Archive ROM Launcher addon once again.
Step 31: Click on the Configure button.
Step 32: Select the External Launcher tab from the vertical settings menu bar.
Step 33: Click on the My System Type field.
Step 34: Select your platform from the listing.
Step 35: Navigate to the Setup Wizard tab from the vertical settings menu bar.
Step 36: Click on the Emulator Launcher field that displays External by default.
Step 37: Switch to the Kodi Retroplayer option.
Step 38: Click on the OK button at the right side of the settings window.
Step 39: Return to the main Add-ons menu, then select the Game add-ons tab.
Step 40: Start the Internet Archive ROM Launcher for the first time.
Step 41: Click on the Agree button at the bottom left corner to proceed.
Step 42: Select the retro gaming console that you wish to emulate. Please note that certain platforms (such as Nintendo 64) are not integrated yet, but will be once the stable release is out.
Step 43: Choose the retro game title you wish to play.
Step 44: Click on the Launch button at the bottom centre of the screen.
Step 45: Wait a minute for the game to download. Most of these games are far smaller in file size than a movie trailer would be.
Step 46: Select the game emulator you wish to use to play the game, usually, the top one is best if you're given multiple options.
Thanks, TVAddons!


